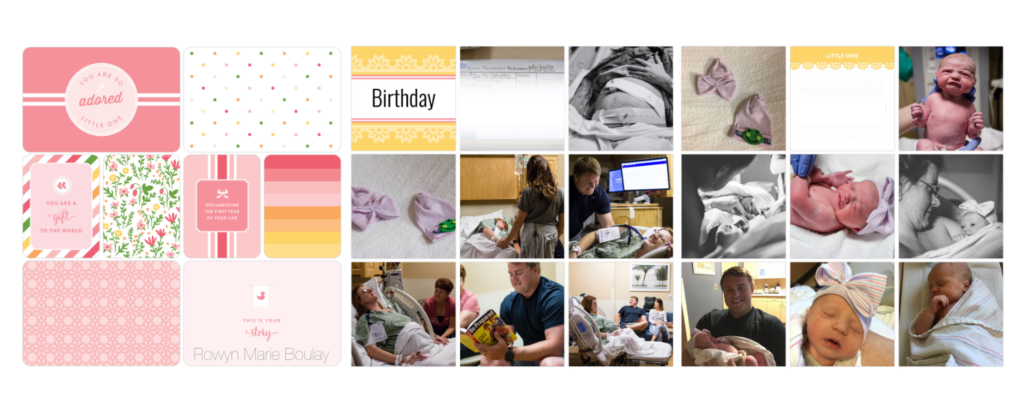
Welcome to this blog series that will follow my process of creating my daughter’s baby album ( to document her first year)

Step 1:
Decide why you want to do this and what the final outcome will be.
Name your goal when it comes to albums and projects that you want to work on. I decided that I wanted one album to document each of my children's first year of life, then a family yearbook. I don’t find it necessary to have albums for each child because one, that would take too much time, and two, many of their activities and memories will overlap.
Step 2:
Now you will need to decide how you want to make the album, chronologically OR by milestone/event. I chose chronologically because that is how my brain works and I want to see her growth as the album progresses through the year.
Step 3:
Determine a rough outline/list of what to include OR do you just want to make it simple? Let me explain… Before we move on let's define layout as 2 facing pages.
- Detailed:
- Layout 1: Day of birth photos/hospital photos with birth stats
- Layout 2: the pregnancy - announcement - baby shower
- Layout 3: Parent details - as kids and how they met - likes/dislikes - photos of them as kids then together
- Layout 4: Family tree - grandparents, great grandparents
- Layouts 5-17 - Each month with a summary of milestones and happenings
- Layout 18: 1st birthday
- Simple
- 1: Day of birth with birth stats
- 2: Pregnancy - just a collage
- 3 + 4: Parents and family
- 5-17: Collage with the month number
- 18: First Birthday
Step 4:
Print and enjoy. Remind yourself now why you are doing this. Make sure you are doing this for you, it will be much more enjoyable. Yes, your kiddos will love this in the future, but who are you doing it for right now?
Step 5:
Show me what you’ve made! I cannot wait to see your progress, email me at hello@michelleboulay.com or tag me on instagram @curated.memories


